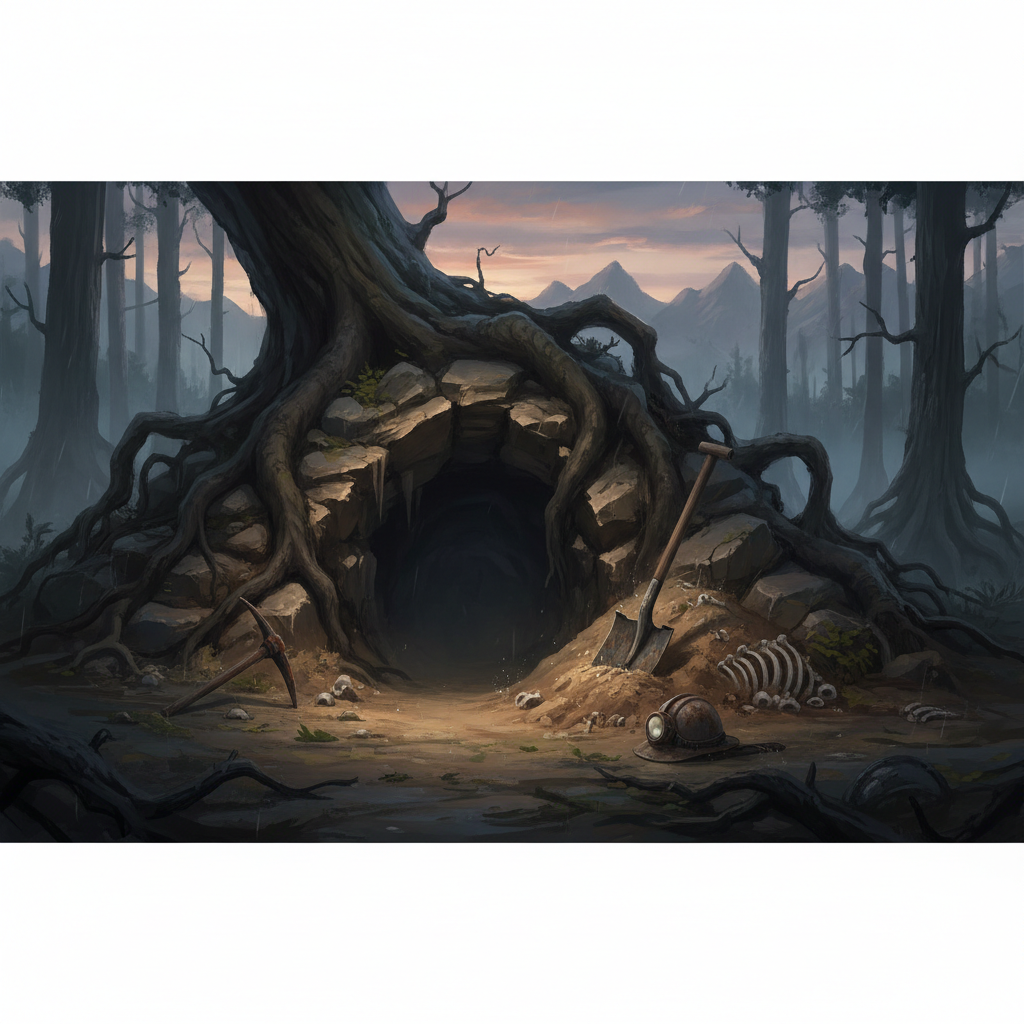
The Shovel in Sons of the Forest is located inside a specific cave on the west side of the map, just before the snowy mountains. You will find it held by a deceased worker at the end of a challenging cave system.
Shovel Location Overview
The Shovel is a critical survival item in Sons of the Forest, enabling players to dig up valuable resources such as GPS Locators, a Shotgun, and other essential items. Its location is a cave situated on the western side of the island, specifically before reaching the snowy mountainous region. The entrance to this cave is distinctive, marked by three impaled workers. Before entering, players can acquire a Slingshot from the middle worker. The entrance itself is blocked by wooden boards that must be broken down to gain access. This cave is known for its dangerous inhabitants, including cannibals and mutants, making preparation crucial before attempting to retrieve the Shovel.
Prerequisites for Obtaining the Shovel
Before embarking on the journey to acquire the Shovel, two essential pieces of equipment are mandatory: the Zipline Rope Gun and the Rebreather. Without these items, navigating the cave system to the Shovel’s location is impossible. The Zipline Rope Gun is necessary to traverse certain sections of the cave, allowing access to otherwise unreachable areas. The Rebreather is equally vital, as significant portions of the cave require underwater travel through submerged tunnels. Players should prioritize obtaining both of these tools before attempting to find the Shovel to avoid being stranded or unable to progress within the cave.
| Item | Purpose |
|---|---|
| Zipline Rope Gun | Essential for traversing cave sections |
| Rebreather | Required for underwater cave navigation |
Navigating the Shovel Cave
Upon entering the cave, players will immediately encounter a sheer drop leading into a small body of water containing skeletons. Dropping down here allows for the collection of some resources, including an Air Tank. After climbing back up, look for a rope spanning across the area with cloth hanging from it; collect the cloth. The Zipline Rope Gun must then be used to reach the next section. In this new area, proceed to the right to gather resources like Tape, Energy Drinks, and Meds. The path then leads into water on the left, where players must dive down to find an underwater tunnel. This tunnel requires continuous swimming and following its path, eventually leading to another cave section. Be prepared for mutants upon exiting the water in this area.
Continue along the path, collecting items such as a Wetsuit, another Air Tank, and 9mm Ammo near rocks on the right. More cannibals will likely be encountered before reaching a slope that will automatically trigger a slide into the next room. Upon landing in the water, turn right towards a lit-up area filled with cases containing resources. Collect these items before proceeding through the path to a room illuminated by a small light, where bodies of workers and more mutants are present. After gathering resources here, head towards a second light at the back of the room and through tunnels. This leads to a larger room with a light at the back and a glowing red laptop in the middle, flanked by two bodies. Interacting with the laptop will add the location of Maintenance Bunker A to your map. Crucially, the Flashlight Attachment can be found on the body next to the laptop. Continue deeper into the cave towards the light, finding more supplies in a case at the next illuminated section. Turn left at the end of this room into a new path, collecting Dollar Notes along the way. Dive into a smaller body of water, swimming straight through to emerge where more mutants await. As the tunnel opens up, turn right towards a distant light. This final room is dangerous, but players can run directly towards the light to grab the Shovel from the body of a worker without engaging in combat.
Exiting the Cave with the Shovel
Once the Shovel is acquired, the journey to exit the cave begins. Retrace your steps back through the cave system. At some point, a large mutant will break through a previously traversed tunnel. Explosives can be effectively used against this mutant. Following this newly opened path, which will contain numerous mutant babies, leads directly to an exit. This exit will bring players out into a different part of the forest than where they initially entered the cave system, completing the challenging retrieval mission for the Shovel.
FAQ
What items do I need before I can get the Shovel? You need the Zipline Rope Gun and the Rebreather before you can successfully navigate the cave to find the Shovel.
Where exactly is the Shovel cave entrance? The cave entrance is on the west side of the map, just before the snowy mountains, marked by three workers impaled on spikes.
Are there enemies in the Shovel cave? Yes, the cave is filled with enemies, including cannibals and mutants. It is recommended to stock up on meds, food, drink, a decent weapon, and armor.
Can I get a Flashlight Attachment in the Shovel cave? Yes, a Flashlight Attachment can be found on a body next to a glowing red laptop in one of the larger rooms within the cave.
How do I exit the Shovel cave after getting the Shovel? After grabbing the Shovel, retrace your steps. A large mutant will create a new exit path through a tunnel, leading you out to a different part of the forest.