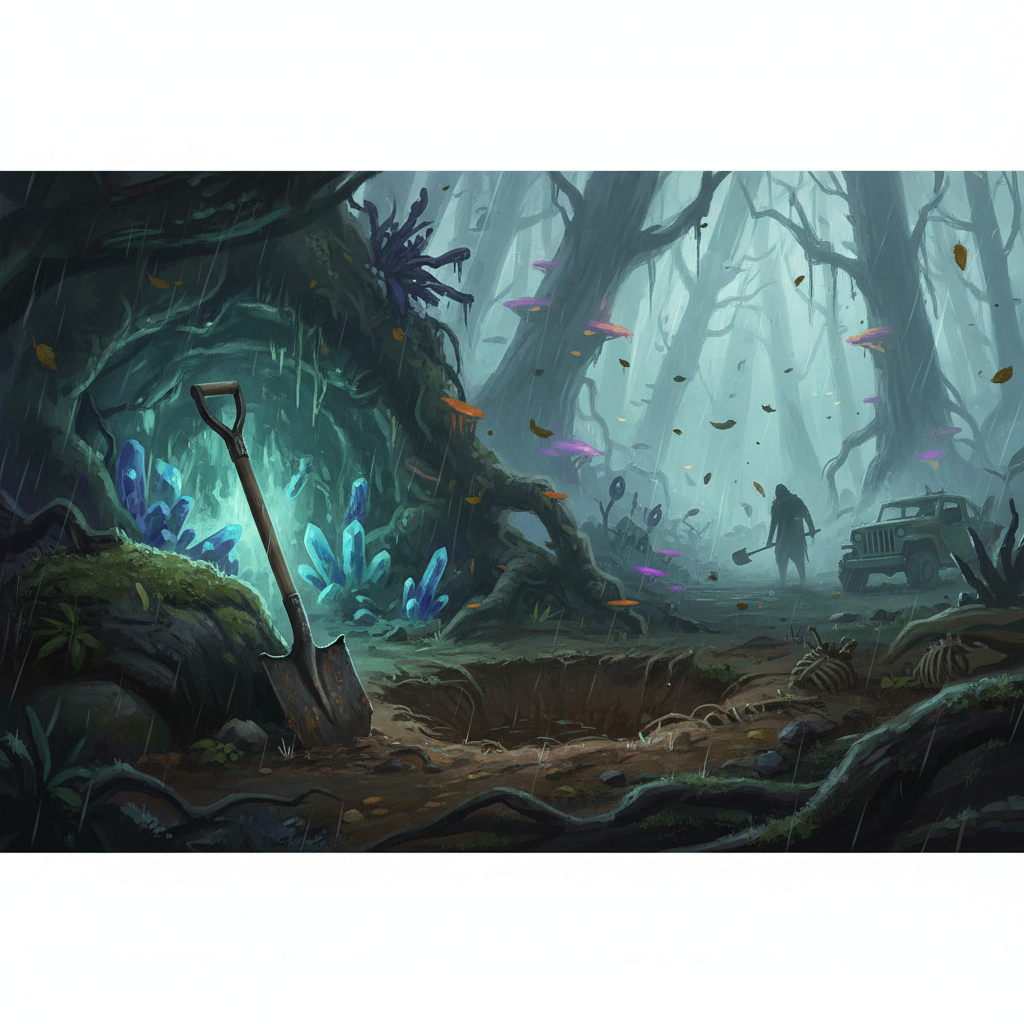
Acquiring the Shovel
The Shovel is a vital survival tool in Sons of the Forest, enabling players to unearth crucial items such as GPS Locators, a Shotgun, and various resources, including keycards. Before you can obtain the Shovel, you must first secure two other essential pieces of equipment: the Zipline Rope Gun and the Rebreather. Without these, navigating the cave where the Shovel is located will be impossible.
The Shovel is found within a cave on the western side of the map, situated just before the snowy mountain region. The entrance to this cave is distinctive, marked by three impaled workers. Before entering, approach the central worker to collect a Slingshot. The cave entrance itself is blocked by wooden boards that must be broken down with an axe.
It is highly recommended to prepare for the journey into the cave by stocking up on healing items, food, and drinks for energy. A decent weapon and some armor are also advisable, as the cave is inhabited by enemies, including cannibals and mutants. While not strictly necessary, a Flashlight can be helpful for illuminating darker sections of the cave.
Navigating the Shovel Cave
Upon entering the cave, you’ll encounter a sheer drop leading into a small pool of water with skeletons. Drop down to collect resources, including an Air Tank. Climb back up and look for a rope spanning across, with cloth hanging from it. Collect the cloth, then use the Zipline Rope Gun to cross to the next area.
In this new section, turn right to gather resources like Tape, Energy Drinks, and Meds. Then, proceed into the water on the left and dive immediately to find an underwater tunnel. Continue swimming through this tunnel, following it as far as possible. This passage will lead you to the next cave section. Be cautious upon surfacing, as mutants may attack as you exit the water.
Follow the path, collecting items such as a Wetsuit, another Air Tank, and 9mm Ammo found near rocks on the right. You will encounter more cannibals as you progress. Eventually, you will reach a slope that you will automatically slide down, landing in a new room.
Once you land in the water, turn around and head towards the lit-up area. This section contains cases filled with resources; collect as much as you can. Continue along the path until you reach a room illuminated by a small light, where more worker bodies and mutants are present. You can choose to fight or evade the mutants. After gathering resources, move towards a second light at the back of the room, through tunnels.
You will then arrive in a larger room featuring a light at the back and a glowing red laptop in the center, near two bodies. Interact with the laptop to add the location of Maintenance Bunker A to your map. Next, examine the body beside the laptop to acquire the Flashlight Attachment.
Proceed further into the cave towards the light. In the next illuminated section, you’ll find a case with supplies. At the end of this room, turn left to enter a path leading to the next area, where you can collect Dollar Notes. Continue straight ahead, diving into a smaller body of water. Swim directly across, and you will emerge on the other side, where more mutants will be waiting.
Follow this path. As the tunnel begins to open up, go to the right, and you will see a light in the distance. This room is dangerous, but you can choose to run directly towards the light to grab the Shovel and avoid combat. The Shovel is held by a worker’s body located by this light.
After obtaining the Shovel, begin your journey back through the cave system. At some point, a large mutant will break through a previously traversed tunnel. Using an explosive on this mutant can clear the path, creating a shortcut. This new path, though populated by baby mutants, will lead you to a different exit from the cave, bringing you out into another part of the forest.
What the Shovel is Used For
The Shovel is an indispensable tool for the new digging mechanic in Sons of the Forest. It allows players to uncover hidden areas and various items across the map.
Key uses include:
- Digging up hidden items: Many important resources, including specific weapons, GPS Locators, and keycards, are buried and require the Shovel to access.
- Accessing hidden locations: Certain areas, such as bunkers, are initially inaccessible and can only be reached by digging.
- Uncovering graves: Graves often contain crafting materials and other valuable resources.
- Interacting with GPS markers: When a diggable area is present, a shovel icon will appear on the ground. Equipping the Shovel and holding down the left mouse button will initiate digging. You typically need to dig the same spot multiple times and move slightly to fully uncover an object or entrance.
While primarily a digging tool, the Shovel can also be used as a makeshift weapon if necessary, though it is generally less effective than dedicated melee options. Despite its size, you can use the Shovel while simultaneously holding a GPS or a torch.
FAQ
What items do I need before I can get the Shovel? You need the Zipline Rope Gun and the Rebreather to access and navigate the Shovel cave.
Where is the Shovel located on the map? The Shovel is found in a cave on the west side of the map, just before the snowy mountains. The cave entrance is marked by three workers impaled on spikes.
Are there enemies in the Shovel cave? Yes, the cave is populated by cannibals and mutants. It is recommended to bring weapons, armor, and healing supplies.
What can the Shovel be used for? The Shovel is used to dig up buried items like keycards, GPS Locators, and weapons, as well as to access hidden areas and uncover graves for resources.
Can I use the Shovel as a weapon? While it can be used for combat, it is generally less effective than other dedicated melee weapons.